Generating a Report

The Report Wizard

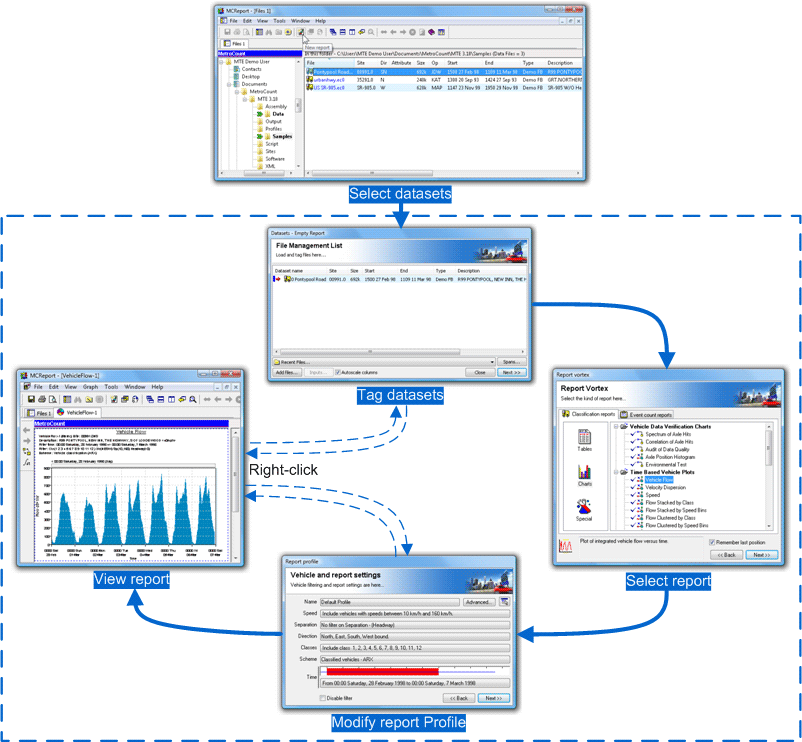
Generating a report with the Report Wizard is an incredibly simple process, illustrated by the following diagram.

Generating a Report with the Report Wizard

Generating a Report with the Report Wizard

The File Management List is a temporary list of datasets that have been loaded, ready for analysis. Datasets can be loaded into the File Management List via MCReport's File Tree window, or from a list of recently used datasets. Datasets can then be selectively tagged for inclusion in the report being generated.

The Report Vortex contains the list of available reports, firstly grouped by their mode of analysis (Classification or Event Count) and then by the format of the report (Tables, Charts or Special).

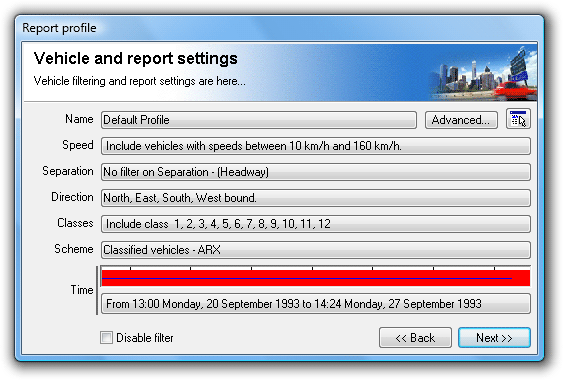
A Profile in MCReport encompasses the set of vehicle filter, classification, statistical and formatting options for each report. When a new report is generated, a copy of MCReport's Default Profile is attached to the report and is referred to as the report's Local Profile. This is displayed as part of the Report Wizard, with the most frequently used vehicle filter settings easily accessible.

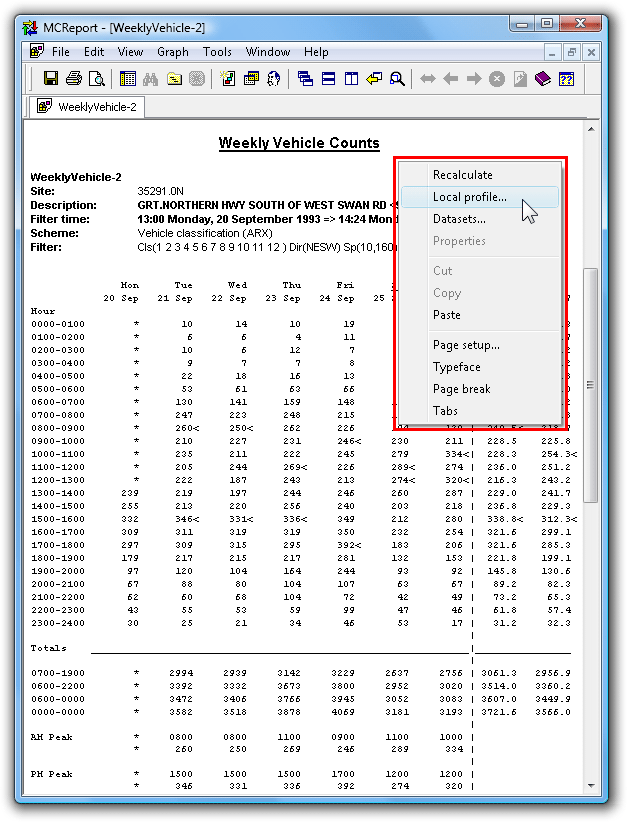
The end result is an automatically formatted report, that can be printed or saved. Note that the Local Profile, or list of tagged datasets can be easily accessed via the report's right-click menu, without repeating the entire Report Wizard. Many reports also have interactive tools for examining detail.

[Procedure] To generate a report
  1. Start MCReport, and if necessary set the New User options as described in the previous section.

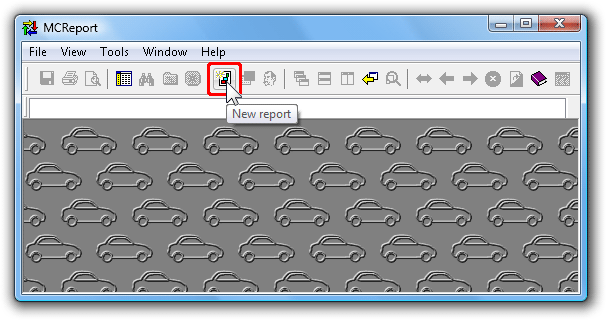
  2. Click the New Report button on MCReport's main toolbar.

    Starting the Report Wizard

    Starting the Report Wizard

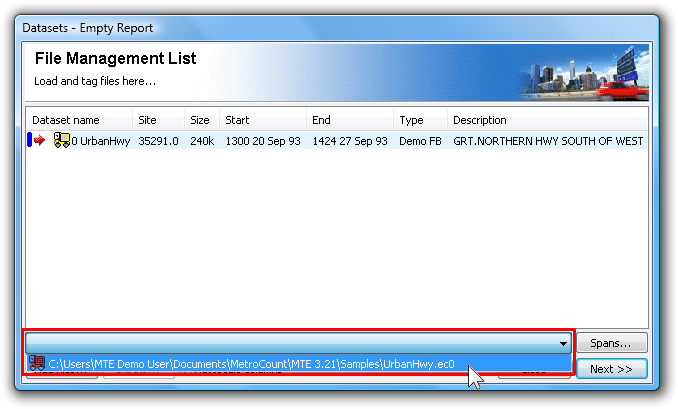
  3. For this simple example, load the urbanhwy.ec0 sample dataset that is always available in the Recent Files drop-down list at the bottom. Loading files using the File Tree is covered in the next section.

    Once the file is loaded, note the red arrow next to the dataset, indicating it is tagged for this report. Click the Next button to continue.

    Load a dataset

    Load a dataset

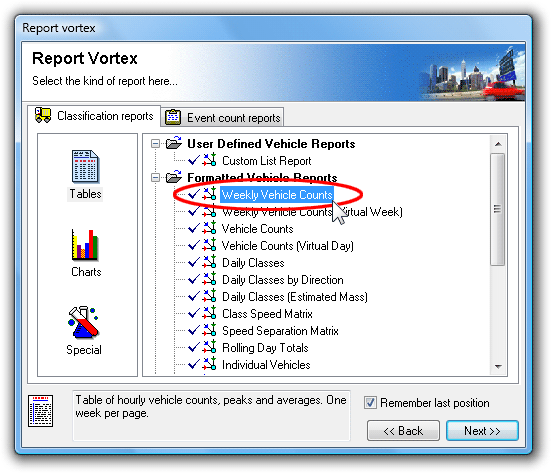
  4. Select a report, such as Weekly Vehicle Counts, and click the Next button.

    Select a report

    Select a report

  5. The report's Local Profile is now displayed. Notice that each setting is a button, which will open another dialog box for editing that setting. Also note the Advanced button at the top, which leads to numerous, but infrequently accessed options.

    For this example, simply accept the defaults by clicking the Next button.

    View Local Profile

    View Local Profile

  6. The selected report is now generated and displayed, ready to be printed or saved.

    Try right-clicking anywhere within the report, and note the options in the pop-up menu. Local Profile will display the report's current Profile, then recalculate. Datasets will display the File Management List, where the tagged datasets can be changed and the report regenerated.

    The generated report, showing right-click menu

    The generated report, showing right-click menu